The Vue team has recently released the highly anticipated migration build for Vue 3. If you’ve been thinking about upgrading your Vue 2 app to Vue 3, this is what you need.
The process of upgrading an app to the latest version of the framework can be a daunting task. This article series is created to make that process easier.
The Vue 3 Migration series has two parts:
- Vue 3 Migration Build (this article)
- Vue 3 Migration Changes (the next article)
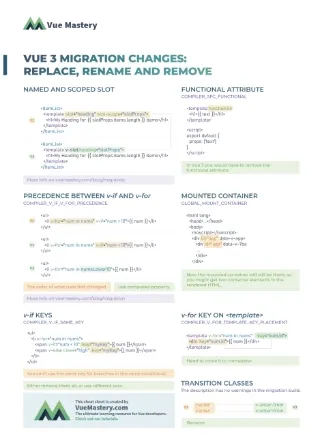
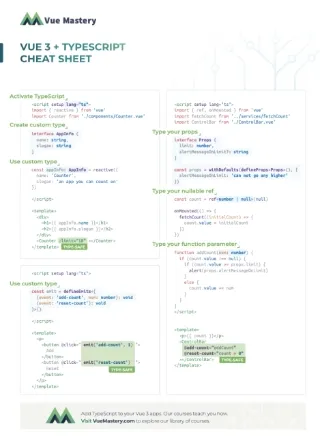
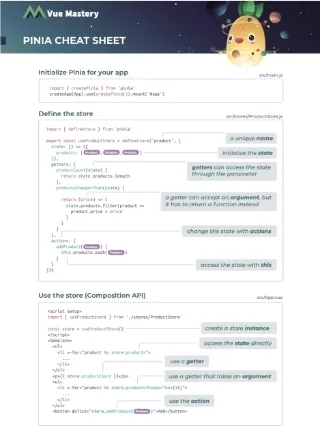
Along with this article, we’ve also created a cheatsheat for the most common changes.
What is a migration build?
The Vue 3.1 migration build is a “special” version of Vue 3 that allows your existing Vue 2 app to run in a Vue 2 mode (or Vue 2-compatible mode). This Vue 2 mode is part of Vue 3, but its behaviors are almost identical to the regular Vue 2.

The main difference is that it will give you warnings whenever your code is using deprecated features (things that are not supported in Vue 3).
The migration build is not a tool that automatically rewrites your code to be Vue 3-compatible, you still have to do that yourself manually (for the list of code changes you have to make for Vue 3, check out the Vue 3 Migration Changes article). The point of the migration build is to provide a “safe” environment where you can incrementally fix your code to make it Vue 3 compatible. .
Workflow
Here’s the general workflow of upgrading your app from Vue 2 to Vue 3 using the migration build:

- Install Vue 3 and the migration build (called
@vue/compat) to your existing Vue 2 app. - Fix the errors caused by using features not compatible with the migration build. I’ll explain this in a bit.
- After fixing the errors, your Vue 2 app should run just fine. Now we just need to fix the code following to the warnings that the migration build is giving us.
- And finally, fully switch to Vue 3 by uninstalling the migration build.
About the errors in step 2… The Vue 2 mode in Vue 3 is not fully compatible with a Vue 2 app. There are a few features that are incompatible, and a few features that are partially compatible. (once again, check out the Vue 3 Migration Changes article for more details)
To get some hands-on experience with this migration build, we are going to use a simple Vue 2 app as an example, and we’ll upgrade it to Vue 3. This sample app contains things that are no longer supported in Vue 3, so running it with the migration build will definitely give us errors and warnings. But that’s a good thing because that means the migration build is working, and we just have to fix these errors and warnings, one by one.
Sample app
You can download the sample app from github like this:
git clone <https://github.com/Code-Pop/blog.git> my-vue-app
cd my-vue-app
git checkout compat-app-starting
The compat-app-starting tag is where the app is running in Vue 2. There’s another tag compat-app-ending, that’s our finish code where the app is running in Vue 3. But to follow along this tutorial, we are starting with the compat-app-starting tag.
To run the app:
npm install
npm run serve
Now, you can check out the app at localhost:8080
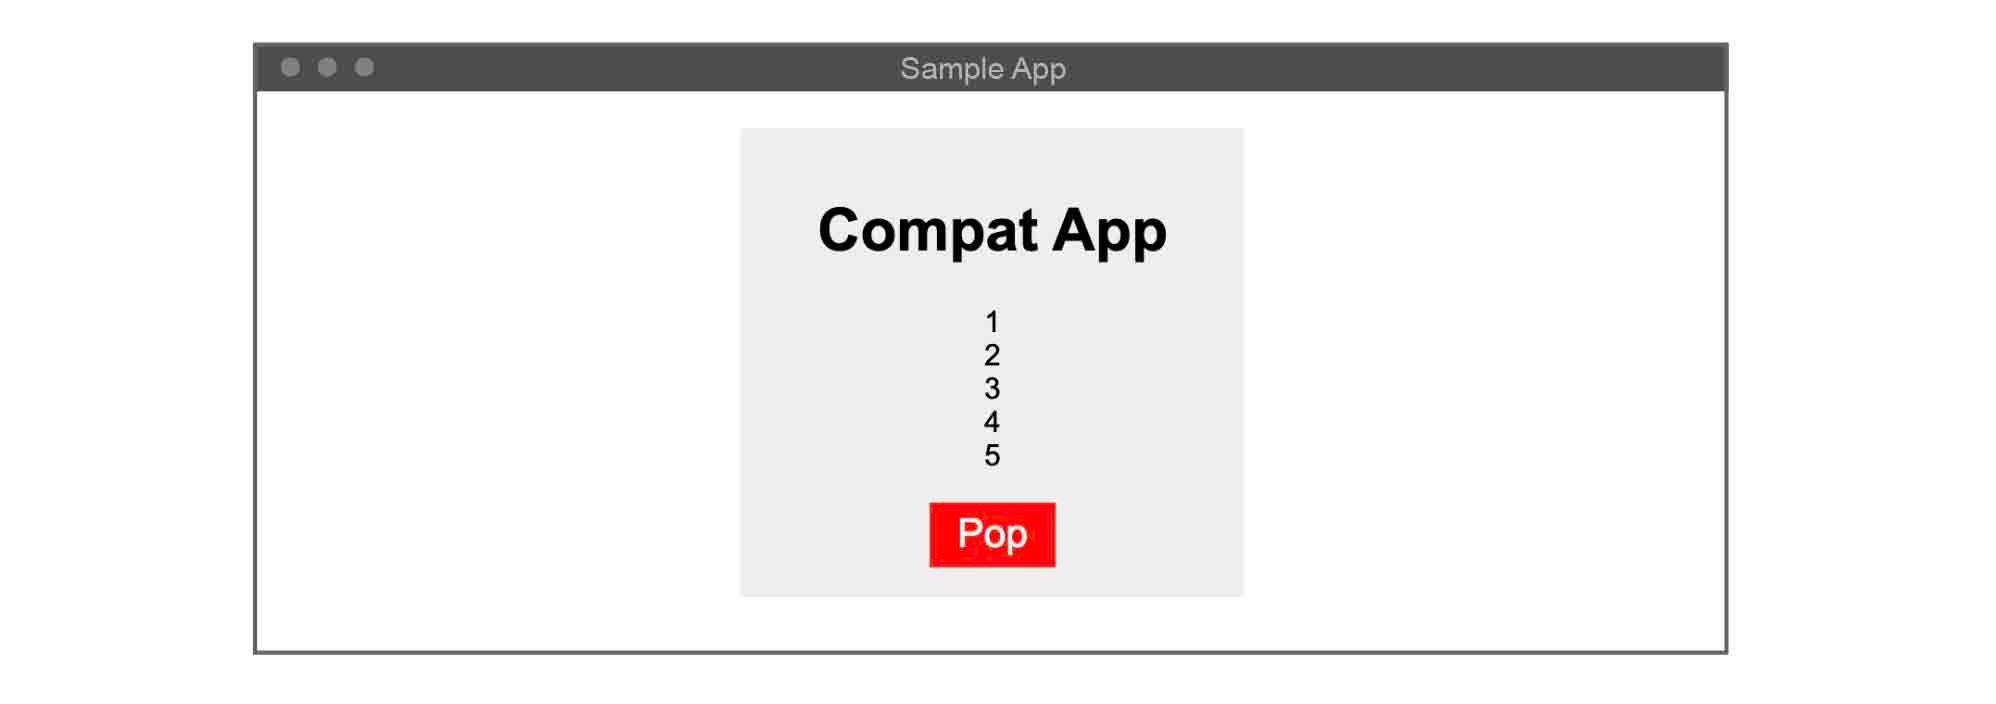
The app is very simple. It just renders a heading and a list of numbers. The Pop button will remove a number from the list whenever it’s clicked.
If you check out the code at main.js, App.vue, and Heading.vue, it’s using a few features that are deprecated in Vue 3.
The way that we’re rendering the root component:
📁 /src/main.js
new Vue({
  render: h => h(App),
}).$mount('#app')
The use of watch on an array without the deep option:
📁 /src/App.vue
export default {
  name: 'App',
  ...
  data() {
    return {
      items: [1,2,3,4,5]
    }
  },
  watch: {
    items: {
      handler(val, oldVal) {
        console.log(oldVal + ' --> ' + val)
      }
    }
  },
  ...
The watcher here is watching the items array, and whenever it’s mutated, the handler will get triggered. We’re using it to display a log message to the browser console.
The use of a functional component like this:
📁 /src/components/Heading.vue
<template functional>
  <h1>{{ props.msg }}</h1>
</template>
Functional component is still allowed in Vue 3, but it uses a different syntax.
There are many other Vue 2 features deprecated in Vue 3. The above ones are just used for demonstrations for this tutorial.
Next, let’s install the migration build.
Installing the migration build

Since the Vue-CLI is the most common tool people used to create Vue 2 apps, this tutorial will be about upgrading a Vue-CLI app. If you’re using Vite or some other build systems, you can check out the migration build’s GitHub readme for more information.
First, we are going to make sure @vue/cli-service is at its newest version:
vue upgrade
(run the above command inside the sample app directory)
Next, modify package.json to install Vue 3, the migration build (@vue/compat), and the compiler for single file components (@vue/compiler-sfc).
"dependencies": {
    "vue": "^3.1.0-0", // ADD
    "@vue/compat": "^3.1.0-0" // ADD
    "vue": "^2.6.11", // REMOVE
    ...
},
"devDependencies": {
    "@vue/compiler-sfc": "^3.1.0-0" // ADD
    "vue-template-compiler": "^2.6.11" // REMOVE
    ...
}
(We had to remove Vue 2 and vue-template-compiler from package.json because they are no longer needed.)
Install the added dependencies:
npm install
There’s only one more step to get the migration build working.
We have to create a vue.config.js file to set up some compiler options:
📁 /vue.config.js
module.exports = {
  chainWebpack: config => {
    config.resolve.alias.set('vue', '@vue/compat')

    config.module
      .rule('vue')
      .use('vue-loader')
      .tap(options => {
        return {
          ...options,
          compilerOptions: {
            compatConfig: {
              MODE: 2
            }
          }
        }
      })
    }
}
(create this file in the root directory)
Now, we can restart the development server:
npm run serve
And you should see an error like this:

Don’t fret. This just means that the migration build is working!
Next, let’s fix this error.
Fixing the errors

As I said previously, there are features incompatible with the migration build, and they will just give you errors instead of friendly warnings.

The source of this particular error is the Heading.vue functional component:
📁 /src/components/Heading.vue
<template functional>
  <h1>{{ props.msg }}</h1>
</template>
All we need to do is to remove the functional attribute and use msg instead of props.msg:
📁 /src/components/Heading.vue
<template>
  <h1>{{ msg }}</h1>
</template>
Now, the error should be gone.
But if you check the browser, you should see a list of warnings in the browser console.

Even with these warnings, the app is fully functional. But to make it Vue 3 compliant, let’s also fix the warnings.
Fixing the warnings

Because our app is using some features deprecated in Vue 3, we are getting three warnings:

- One complaining that we can’t use the
mountmethod in main.js - One complaining that we can’t use
renderin that same file - And one telling us that we need to add a
deepoption to the watcher we used inApp.vue
We can knock out the first two by initializing the app with createApp:
📁 /src/main.js
import Vue, { createApp } from 'vue' // CHANGE
import App from './App.vue'

// REMOVE
// Vue.config.productionTip = false
// new Vue({
//   render: h => h(App),
// }).$mount('#app')

// ADD
createApp(App).mount('#app')
Refresh the app and you should see only one warning left.
All we need to do is to add a deep option as instructed by the warning:
📁 /src/App.vue
  watch: {
    items: {
      handler(val, oldVal) {
        console.log(oldVal + ' --> ' + val)
      },
      deep: true
    }
  },
And we’re done.
Configurations
If for some reason you can’t change the code at the moment but still want to get rid of the warnings, you can do that by setting the warning configurations.
For example, if we didn’t add the deep option to our watcher, we can go to main.js and turn off the warning for this feature:
📁 /src/main.js
import Vue, { createApp } from 'vue'
import App from './App.vue'

Vue.configureCompat({ WATCH_ARRAY: false })
...
WATCH_ARRAY is a configuration ID for this particular deprecated feature. You can see the full list of IDs of deprecation warnings in the migration build readme.
Uninstalling the migration build

At this point, our app is fully compatible with Vue 3. So we no longer need the migration build; it has done its job.
To make the app run in Vue 3 mode instead of the migration build’s Vue 2 mode, we have to uninstall @vue/compat.
Remove it from package.json:
📃 /package.json
"dependencies": {
  // "@vue/compat": "^3.1.0-0", REMOVE
  "core-js": "^3.6.5",
  "vue": "^3.1.0-0"
},
After modifying package.json, we have to run npm install again:
npm install
Next, remove the Vue import and the configuration from main.js:
import /* Vue,*/ { createApp } from 'vue' // CHANGE
import App from './App.vue'

// Vue.configureCompat({ WATCH_ARRAY: false }) REMOVE

createApp(App).mount('#app')
And finally, remove the vue.config.js file that we created earlier.
Restart the server:
npm run serve
The app is now running in the actual Vue 3.
Other considerations
In practice, you’ll probably run into many more errors and warnings than what we’ve seen here in this simple demo. But the workflow is the same: 1) install Vue 3 with the migration build, 2) fix the errors, 3) fix the warnings, and 4) uninstall the migration build.

In the next part of this mini-series, we’ll get into the details of all the deprecation warnings that you will most likely run into.
If you are using Vue Router or Vuex, you will have to upgrade both of them to v4. (more details in the next part)
Also, Vue 3 is dropping support for IE 11. So if you need to support IE 11, your best option is to wait for the various Vue 3 features to be backported to Vue 2. The backporting features will be available in Vue 2.7 expected somewhere around 2021Q3.
If you’d like to continue learning about transitioning from Vue 2 to Vue 3, check out our full course on that topic.


